
Micro-documentaries
Share big ideas in a short format
Task
A documentary does not need to be an hour long to say something true.
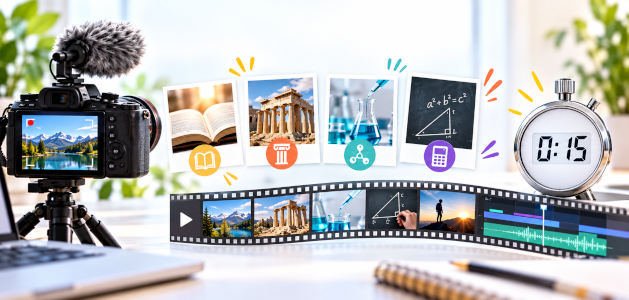
In this project, students produce micro-documentaries (<15-seconds) to summarize stories, historical events, science processes or math procedures.
Before You Begin
The Center for Arts Integration and STEAM define micro-documentaries as a “15-second, narration-free documentary about a concept, event, or idea.”
So imagine three 5-second frames that show, or represent, important events in the beginning, middle, and end of a story. Combined with background music that helps portray the tone and you have a fun and powerful way for students to demonstrate comprehension.
Regardless of how you define a micro-documentary, the short duration of this media makes this project easier to implement with limited classroom time. The format also naturally asks students to summarize and develop nonlinguistic representations of information.
You might have students use an animation tool, like Wixie, to capture frames for a historical event, science process, or math procedure. Add background music to again showcase the tone of the event or process. Narration, in this instance, is a great addition too. Since an average voice over script contains 32-28 words, writing a script is a perfect reason for asking students to summarize the essential information.
Before you begin working with students, choose the format and tool(s) you want students to use to create their micro-documentary. Focus student efforts on one story, process, or event or implement as an end of unit project to help students think more deeply about content or review information.
Engage
Begin by getting students familiar with the idea of a very short documentary.
Search for "15-second documentary" and your subject or topic to find relevant videos, like this example from the University of Delaware's SeaGrant.
Try to find formats that match the product you want students to create. If you want them to focus on imagery (non-linguistic representations) but can't find samples, try watching videos on mute.
As you are watching, highlight techniques that make the micro-documentaries effective (or ways they could improve!). Then ask students to do the same for additional videos, asking them questions like:
- "What made this micro-documentary effective?"
- "What did the background sound or music tell you?"
- "What picture was the most helpful? Why?"
Let students know they will be making micro-documentaries too. While you can have them work individually, collaborate team effort requires students to share thinking, negotiate, and reflect, deepening all team members understanding.
Share the format and tool(s) you want them to use, as well as the specific content they will be sharing and informational resources available to them.
Create
Before they can create a micro-documentary that summarizes essential parts of a process, story, or event, students need to engage with materials that help them develop knowledge and deepen understanding. This might simply require rereading a story or textbook or additional research.
Use graphic organizers like main idea/key details or beginning, middle, and end to ensure students grasp the important elements they will want to share.
When students are ready to design their micro-documentaries, provide them with a storyboard to sketch out ideas, imagery, and music (tone).
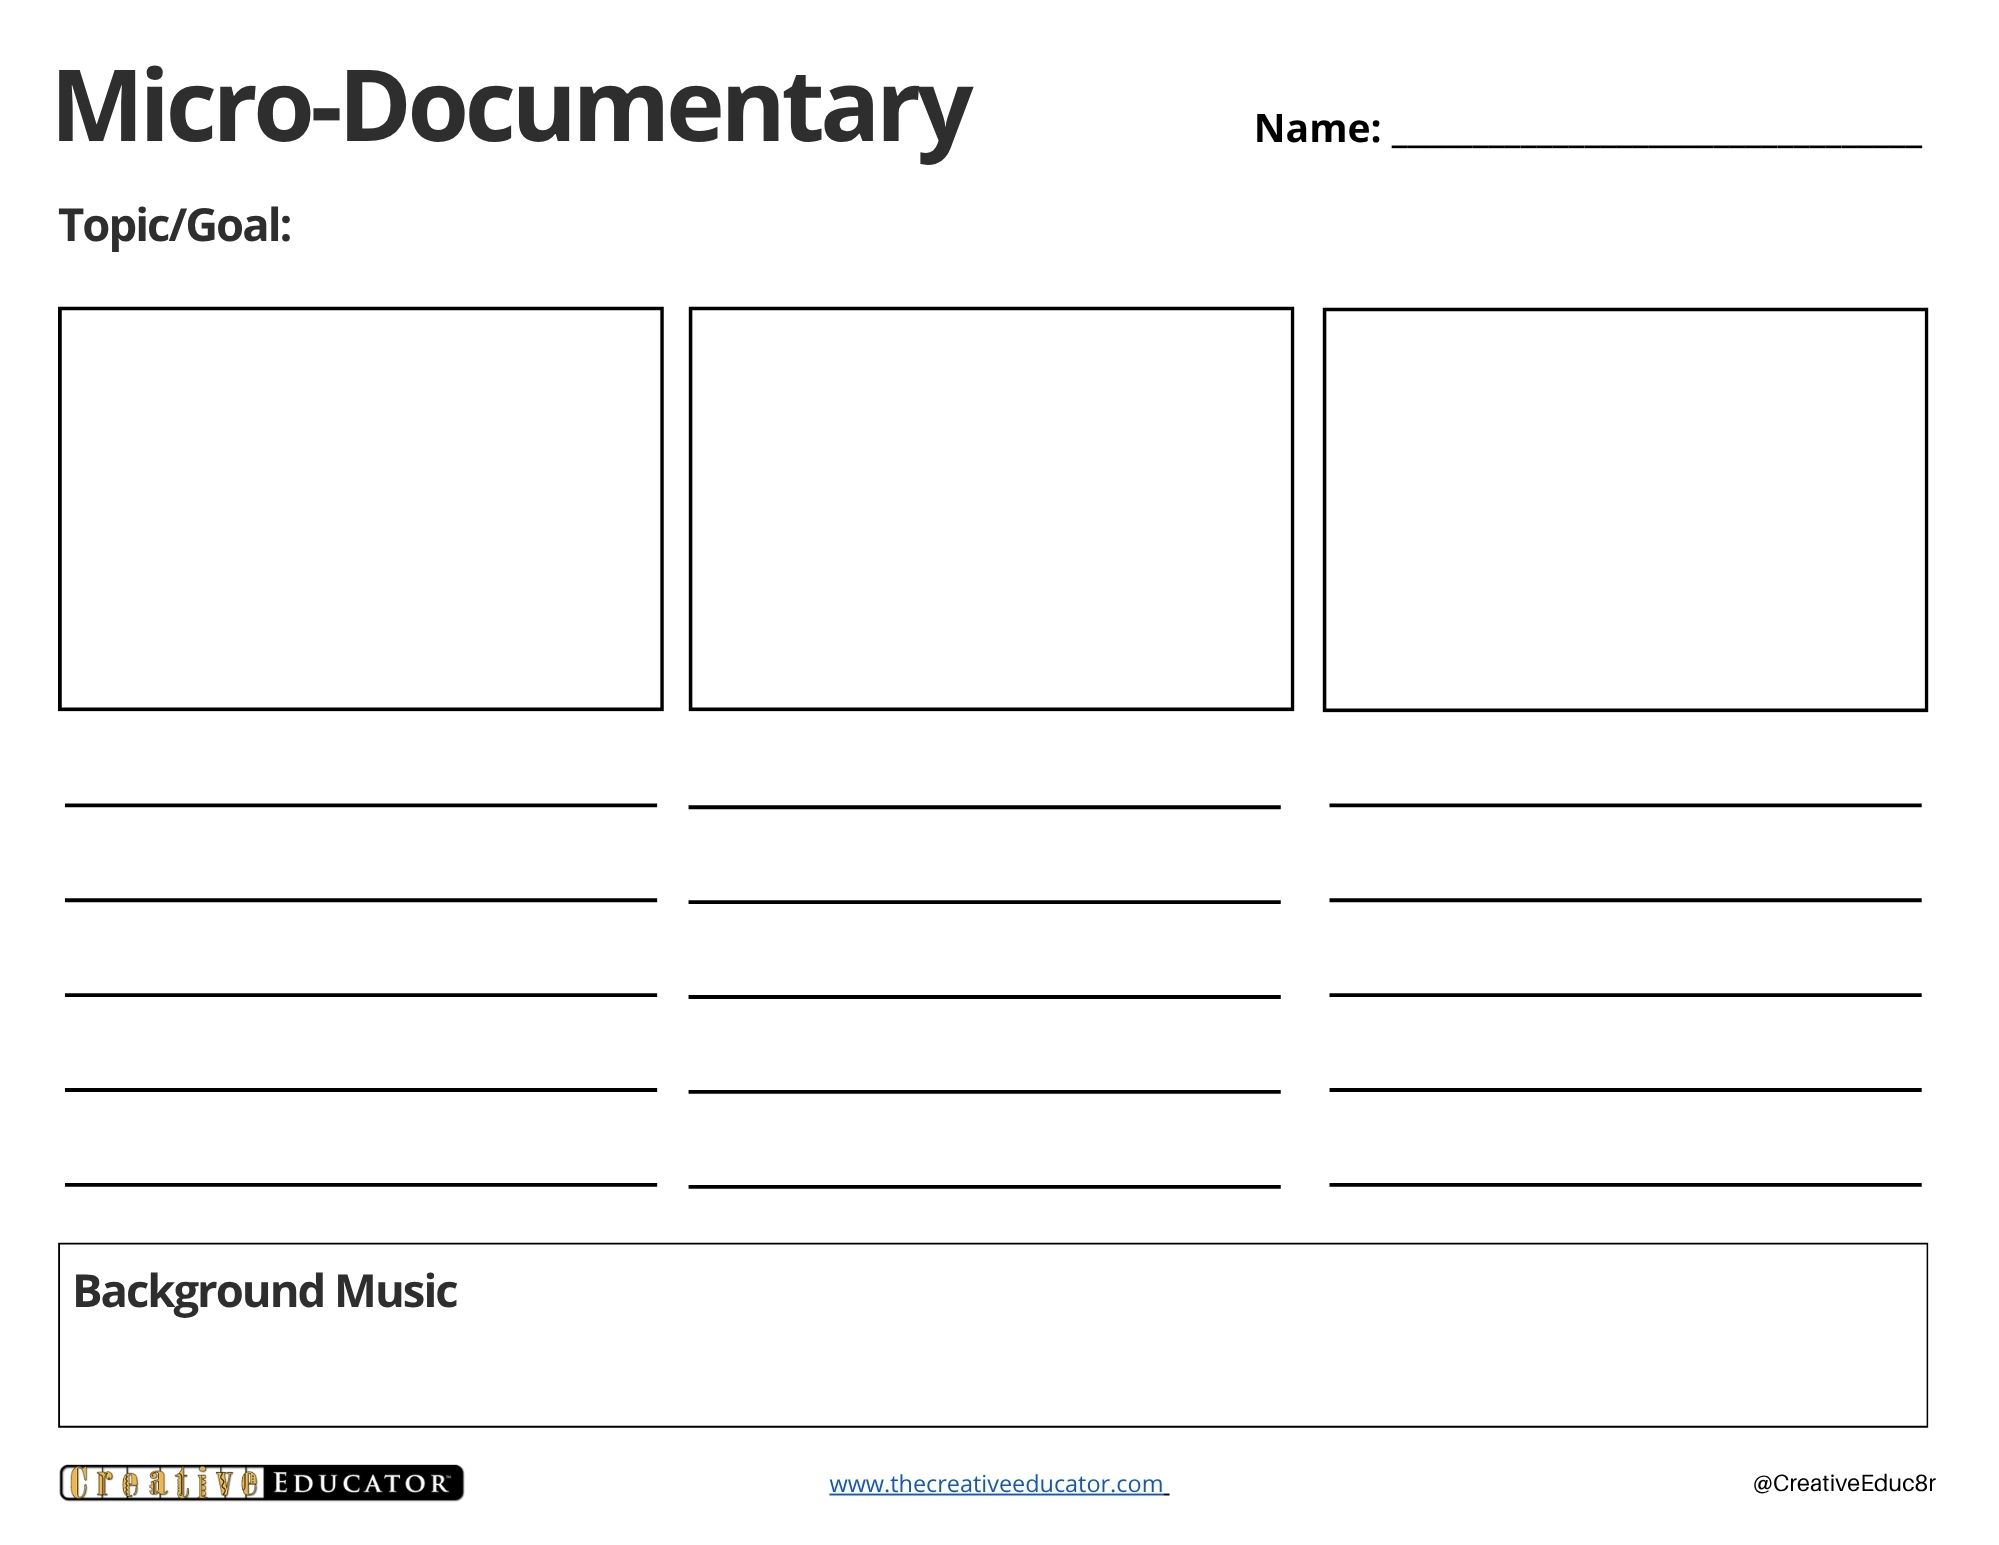
Download a Micro-Documentary Storyboard
Approve student storyboards before they begin working on finding media or building their micro-documentaries on devices.
As students work on their micro-documentaries, be sure to check in with each student or group to monitor progress and answer questions. If you have a large number to support, have students complete a simple exit ticket telling you what they accomplished today and will plan to work on next.
If you are using a tool like Wixie, it is helpful to create a 3-page template (blank pages) and assign it, so that you can monitor student progress and provide feedback asynchronously using Wixie's teacher assignment tools.
When students feel their work is complete, have them share with another student or team and make edits before exporting their work to video and submitting it to you.
Share
The learning in a micro-documentary happens during the process, as students summarize, visualize, discuss and create, but that doesn't make the final product less valuable.
Students should present their micro-documentaries to the rest of the class. Use a presentations of learning (POL) format, so that they share not only the product, but the process and you can expand and extend individual learning through group questions and discussion.
Share the micro-documentaries beyond the school walls where the content might be useful to others. If students retold a story, a Library Media Specialist may want to show them on a screen or kiosk in the library. If they summarized historical events, social studies faculty can include in presentations and review materials. If student micro-documentaries showcase science cycles, these could be shared at a nature center, science museum, or the lobby of a science-based business.
Assessment
The final micro-documentary serves as the summative assessment, but because it is short and may not include text or narration, have students share an explanation and reflection. If students built their micro-documentaries in Wixie, they can use the video reflection tool to add explanations to each page of a project and create a separate video.
Evaluate student work and effort during the process too. Review student graphic organizers for information accuracy, and use storyboards to identify misconceptions, and throughout ask students to verbally articulate the reasoning behind their summaries, images, and music.
Resources
Eric Carle. How Does a Tadpole Grow?: Life Cycles with The Very Hungry Caterpillar (Board Book). ISBN: 978-0593386255
#15-Second Science: American Chad University of Delaware SeaGrant
Standards
Common Core Anchor Standards for English Language Arts
Writing: Text Types and Purposes - CCSS.ELA-Literacy.CCRA.W.2
Write informative/explanatory texts to examine and convey complex ideas and information clearly and accurately through the effective selection, organization, and analysis of content.
Speaking and Listening: Presentation of Knowledge and Ideas - CCSS.ELA-Literacy.CCRA.SL.5
Make strategic use of digital media and visual displays of data to express information and enhance understanding of presentations.
ISTE Standards for Students:
6. Creative Communicator
Students communicate clearly and express themselves creatively for a variety of purposes using the platforms, tools, styles, formats and digital media appropriate to their goals. Students:
b. create original works or responsibly re-purpose or remix digital resources into new creations.
d. publish or present content that customizes the message and medium for their intended audiences.

Melinda Kolk is the Editor of Creative Educator and the author of Teaching with Clay Animation. She has been helping educators implement project-based learning and creative technologies like clay animation into classroom teaching and learning for the past 25 years.


 Most Read


